Udon Node Graph
The Udon Node Graph is the default interface for creation of Udon programs. This section goes over how to use it. If you want to dive right into examples, take a look at the Udon Example Scene.
Interface
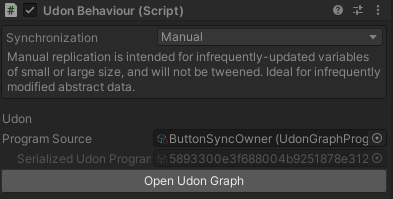
You can open up the Udon Graph window using the Menu Item under VRChatSDK > Udon Graph, or by clicking the Open Udon Graph button on an UdonBehaviour Component.

If you open the window through the Menu command, you'll see the welcome screen, which has a changelog and some settings.
Multiple Graphs can be opened simultaneously, and you can switch between them using the tabs at the top of the Graph Window.
You can close tabs, by clicking the X in the corner of the tab you want to close. Graph Tabs are not "real" tabs, and simply reopen each tab as you select them. This means switching tabs takes as long as opening Graphs.
Flow
The Flow of your graph defines which nodes will run, and the order in which they'll do it.

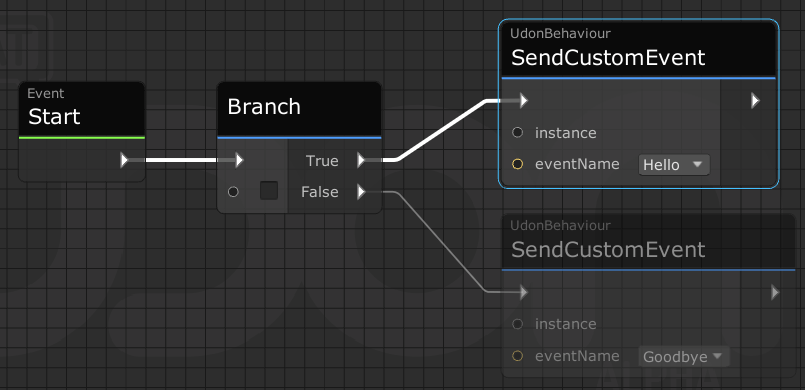
The triangles in the picture above are the Flow ports, and they trigger in order from left to right, following the noodles that connect them. To understand what is happening in Udon graphs and to make your own, follow the flow.
There is a "Highlight flow" toggle on the topbar, which, when enabled, will highlight the nodes connected via the flow edges, allowing you to quickly see how does the program arrive to the particular node.

If the node doesn't have any flow connections, then nothing will happen.
In the graph above:
- The Start event triggers when the world loads
- The Branch triggers next. It checks the value of its checkbox and then triggers either the True or False path.
- If the value is True, then we trigger the top node, which sends a Custom Event called "Hello".
- Otherwise, we will send a Custom Event called "Goodbye"
It's ok if you don't know what Sending a Custom Event means yet. Learning to read the flow of a graph is the first step to understanding what they do.
Creating Nodes
Nodes are the boxes that represent the methods you can trigger. Building a graph consists of creating and connecting nodes together to create a program.
There are several ways to create nodes:
Hotkeys
Press and hold one of the following keys, then click anywhere on the graph to create the corresponding node:
1: float2: Vector23: Vector34: Vector4+: float addition-: float subtraction=- float equality comparisonb: Branchshift+b: Block
Other Hotkeys:
- Press and hold "C", then click on a constant to convert it into a variable.
- Shift+A aligns selected nodes
- Press and hold Ctrl+G for quick grouping
- L+Click logs the value of the selected node
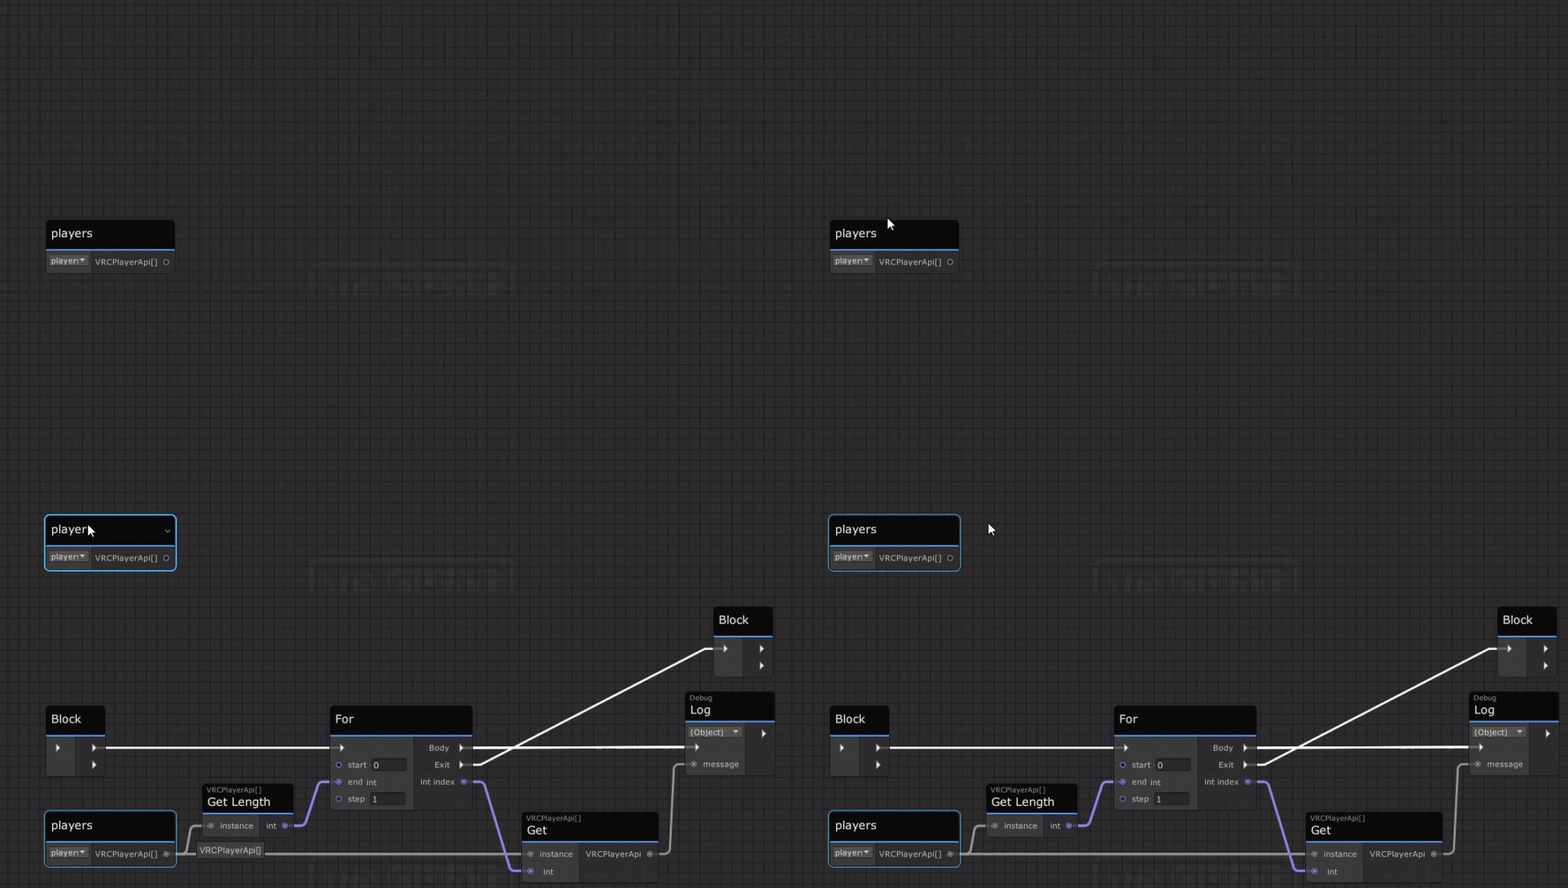
- Press and hold "Shift+F", then click on a node that outputs an array type, to generate a foreach loop automatically
Many of these features are also available in the right-click menus for their respective nodes.

Drag and Drop for GameObjects and Components
If you want to add interactivity to a GameObject or Component, you can drag and drop them from your hierarchy to the graph. For example, you can drag and drop a Light component by grabbing dragging from the 'Light' title onto the graph.
 Creating nodes via Drag and Drop this way creates Variables that are tied to your GameObject or Component, so you'll see a new variable appear in the Variables window, and a node which is actually a "Get Variable" node which is automatically set up to get your new Component.
Drag and Drop for Variables
You can create variables of any type by pressing the + button in the Variables pane of the Graph Sidebar. Then you can drag and drop the variable name onto the graph to create a "Get Variable" node, hold the Ctrl key while dragging to make a "Set Variable" node, or hold the Alt key to make an "On Variable Changed" node.
Searching for Nodes
Press the Spacebar to open up Quick Search, then type in the first few letters of the class you want to interact with.
This method of searching works best if you know Unity's basic classes and object types. There are other ways of searching, see: Searching for nodes
Compiling the Graph
The graph automatically compiles in the background at regular intervals. When this happens, you'll see a flash in the upper-right corner of your graph, and the Status box will turn green if things went well, or red if there's an issue. In either case, you can click on the Status box to see the Assembly Code that was generated, or the errors if there was a problem.
Running the Graph
There are two ways to run the graphs in your scene before you upload them to VRChat.
Running In-Editor
You can use Unity's Play Button to run your scene directly in the editor to test out some graphs. This will work for some simple methods and logic, but the following items won't work as expected:
- Synced Variables & Networked Events
Running Build & Test
Use the VRChat SDK Window to do Local Testing. This takes slightly longer as it bundles your content into an offline world and launches the actual VRChat client to give you an Avatar that can Interact with objects and VRCPlayerAPI requests.
To test Synced variables and NetworkEvents, you'll need two clients - you can use the 'Number of Clients' field to launch up to 8 local clients that will launch in a private test world. They will all have the same DisplayName, but they'll otherwise be recognized as separate players so you can test out your interactions.
If 'Force Non-VR' doesn't work for you, then switch to the 'Settings' tab of the VRChat SDK Window and set your VRChat Client Path to point at your actual VRChat installation.
Uploading Your World
You will be able to Build & Test as soon as you make a VRChat Account. In order to publish a world so others can visit, you need to spend some time in VRChat - visit worlds, make some friends and get inspired!